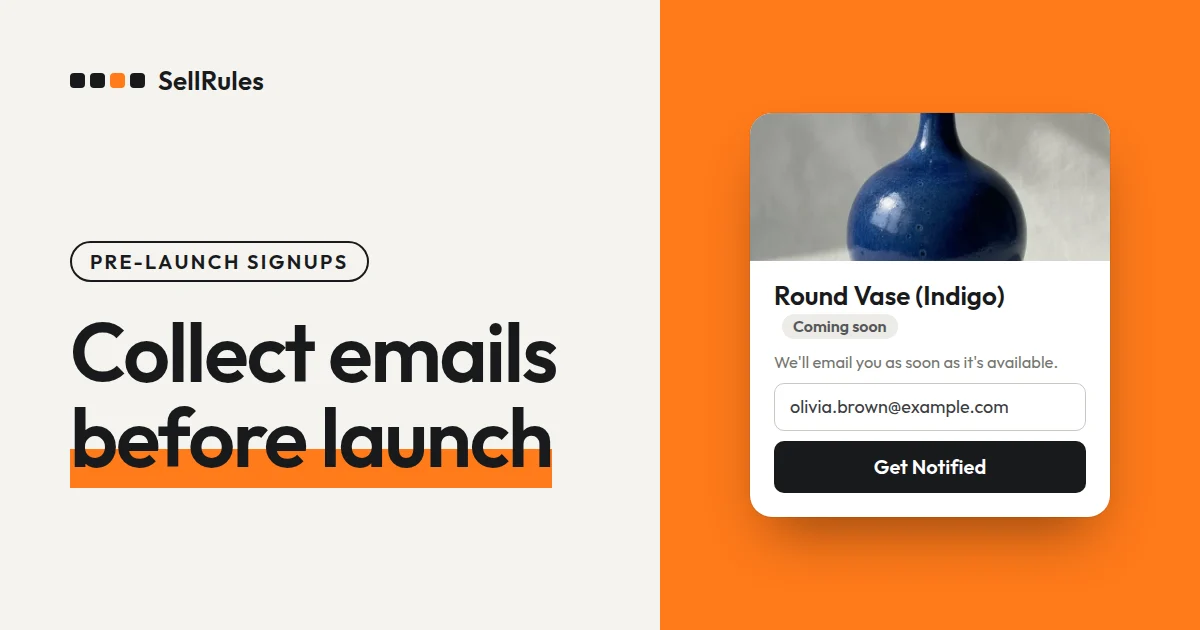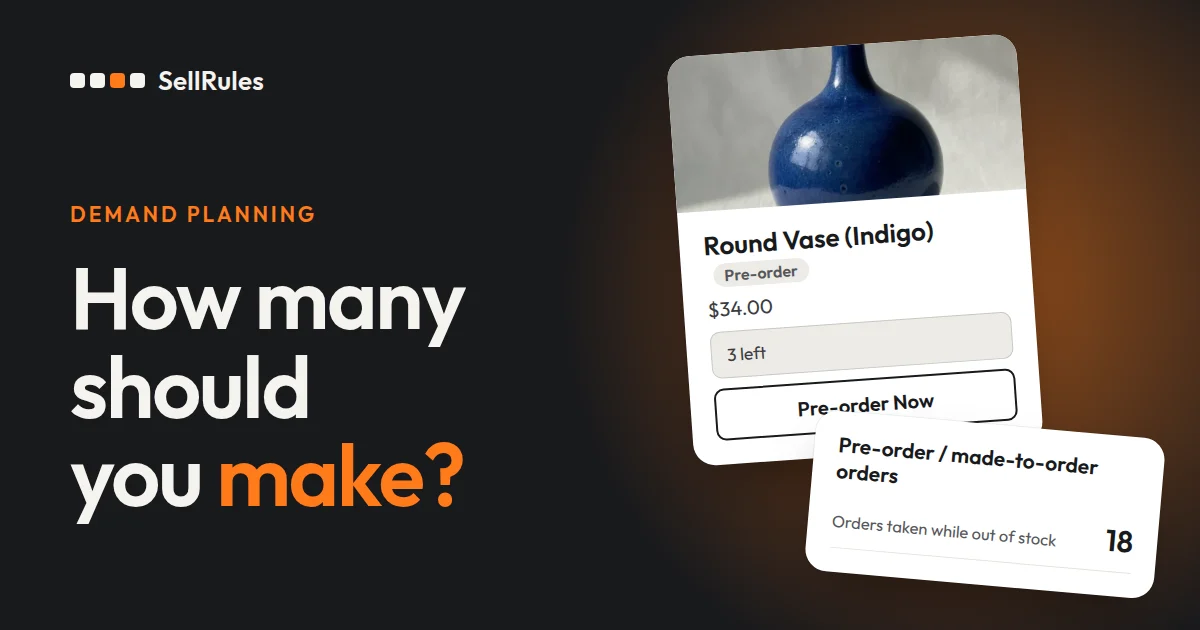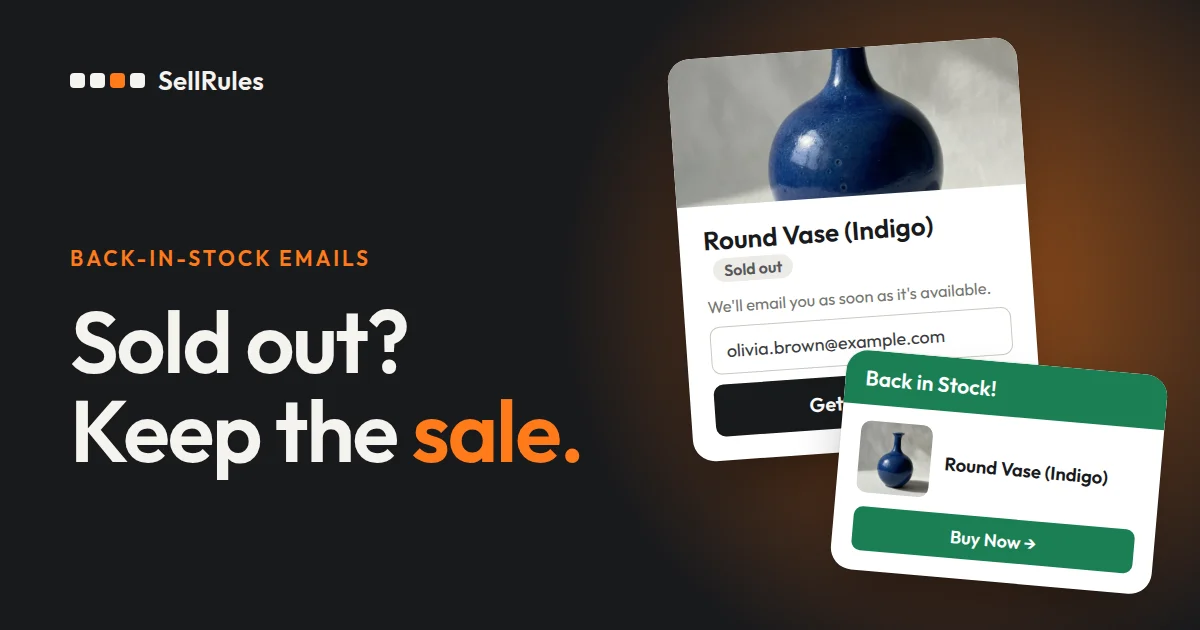
To set up back-in-stock notifications on Shopify, you need a back-in-stock app that adds a sign-up form to the product page when a product sells out.
With the Shopify app SellRules, you create a sold-out switch and set “Switch mode” to “Back-in-stock notification only”. From then on, it works automatically:
- When inventory reaches 0, the product page shows an email field and a “Get Notified” button where the buy button used to be
- When stock returns, the normal buy button comes back and everyone who signed up gets an email with the subject “[Back in Stock] Product name”
Start with one product and test the whole flow, from sign-up to receiving the email, with your own email address. Then roll it out to your other products.
What customers see
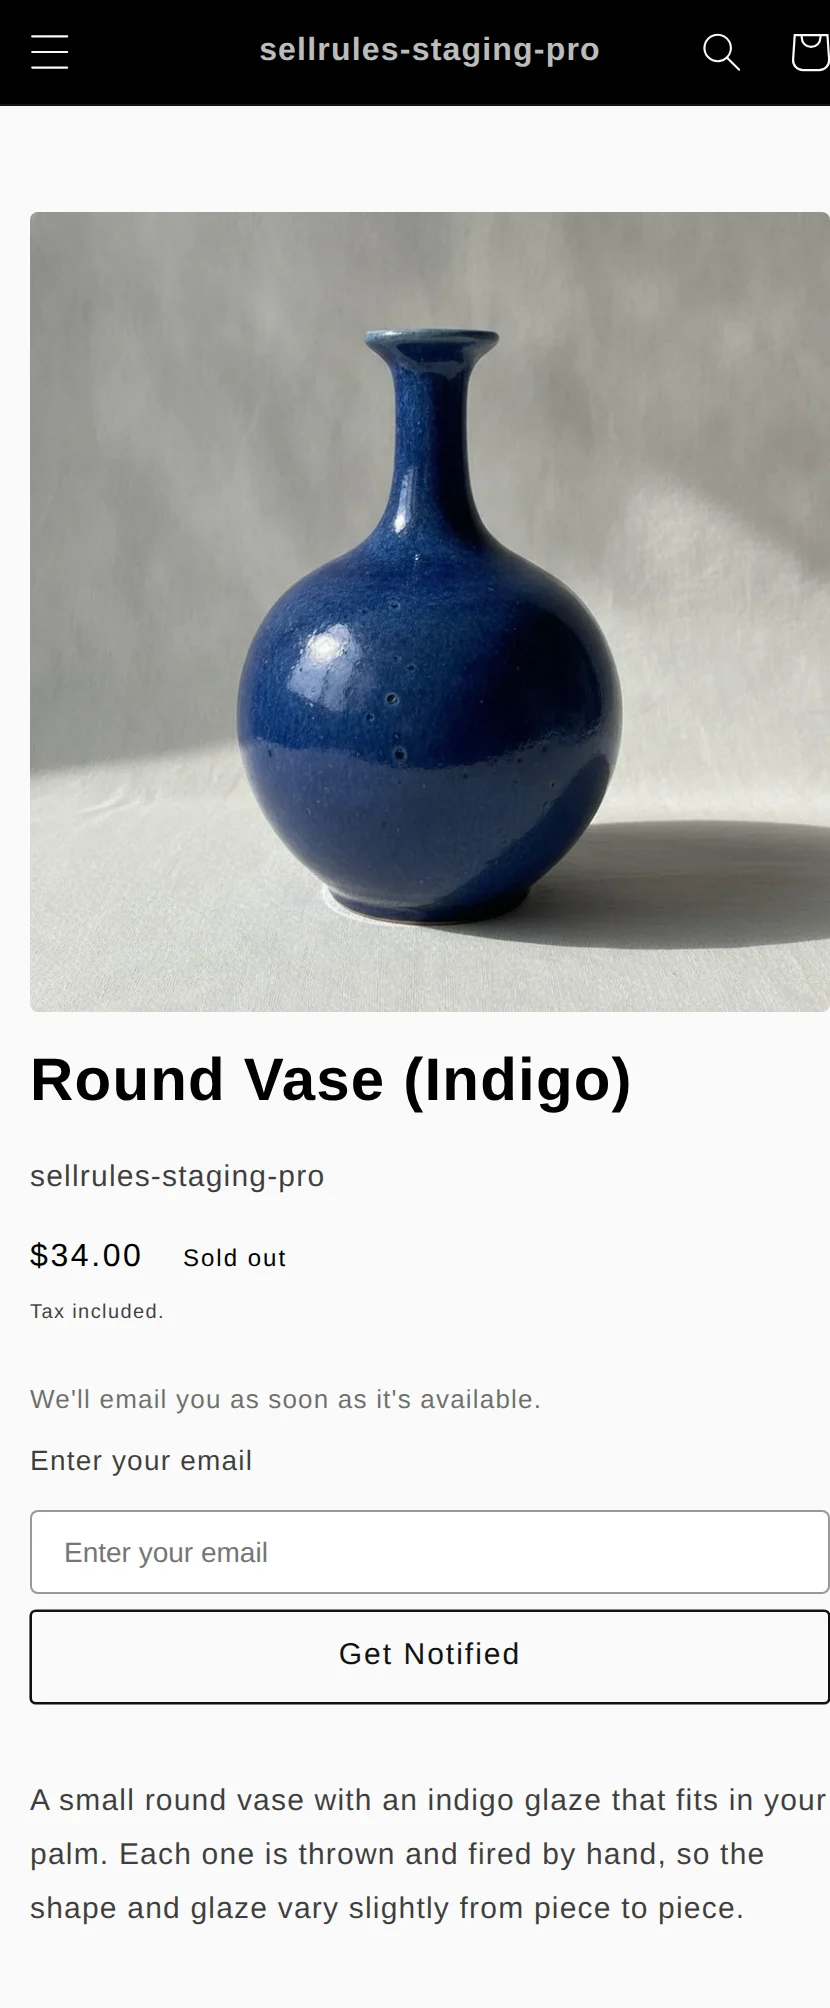
While a product is sold out, the sign-up form above appears where the buy button normally sits. Customers enter their email address and click “Get Notified”. They don't need to create an account. After signing up, they see “You're signed up! We'll notify you when available.”
When stock returns, they get this email:
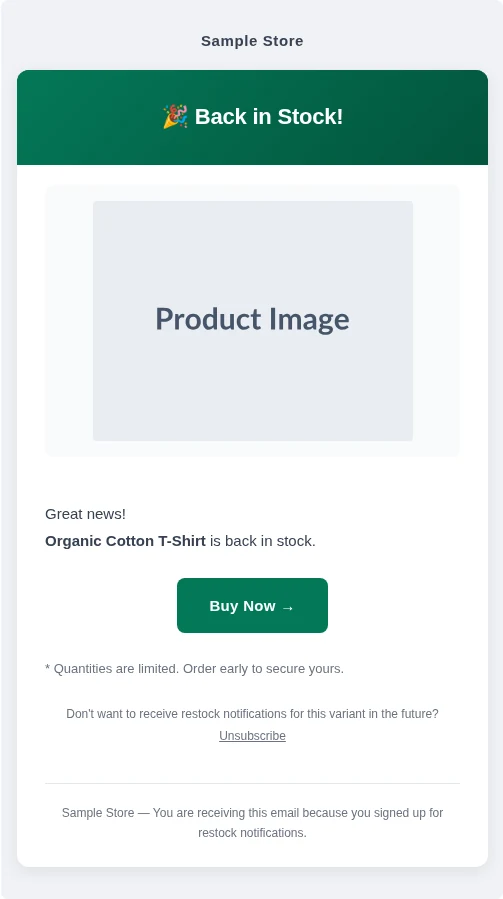
Clicking “Buy Now →” in the email opens the product page the customer signed up for, where they can buy it right away.
| Stage | Product page | What the customer receives |
|---|---|---|
| While sold out | Intro text, email field and “Get Notified” button | Nothing (a confirmation message appears after signing up) |
| After stock returns | Your theme's normal buy button | An email with the subject “[Back in Stock]” followed by the product name, sent to everyone who signed up |
The sign-up form and the email appear in the language the customer was browsing your store in. Default wording for 9 languages, including English and Japanese, is built in.
How this compares to Shopify on its own
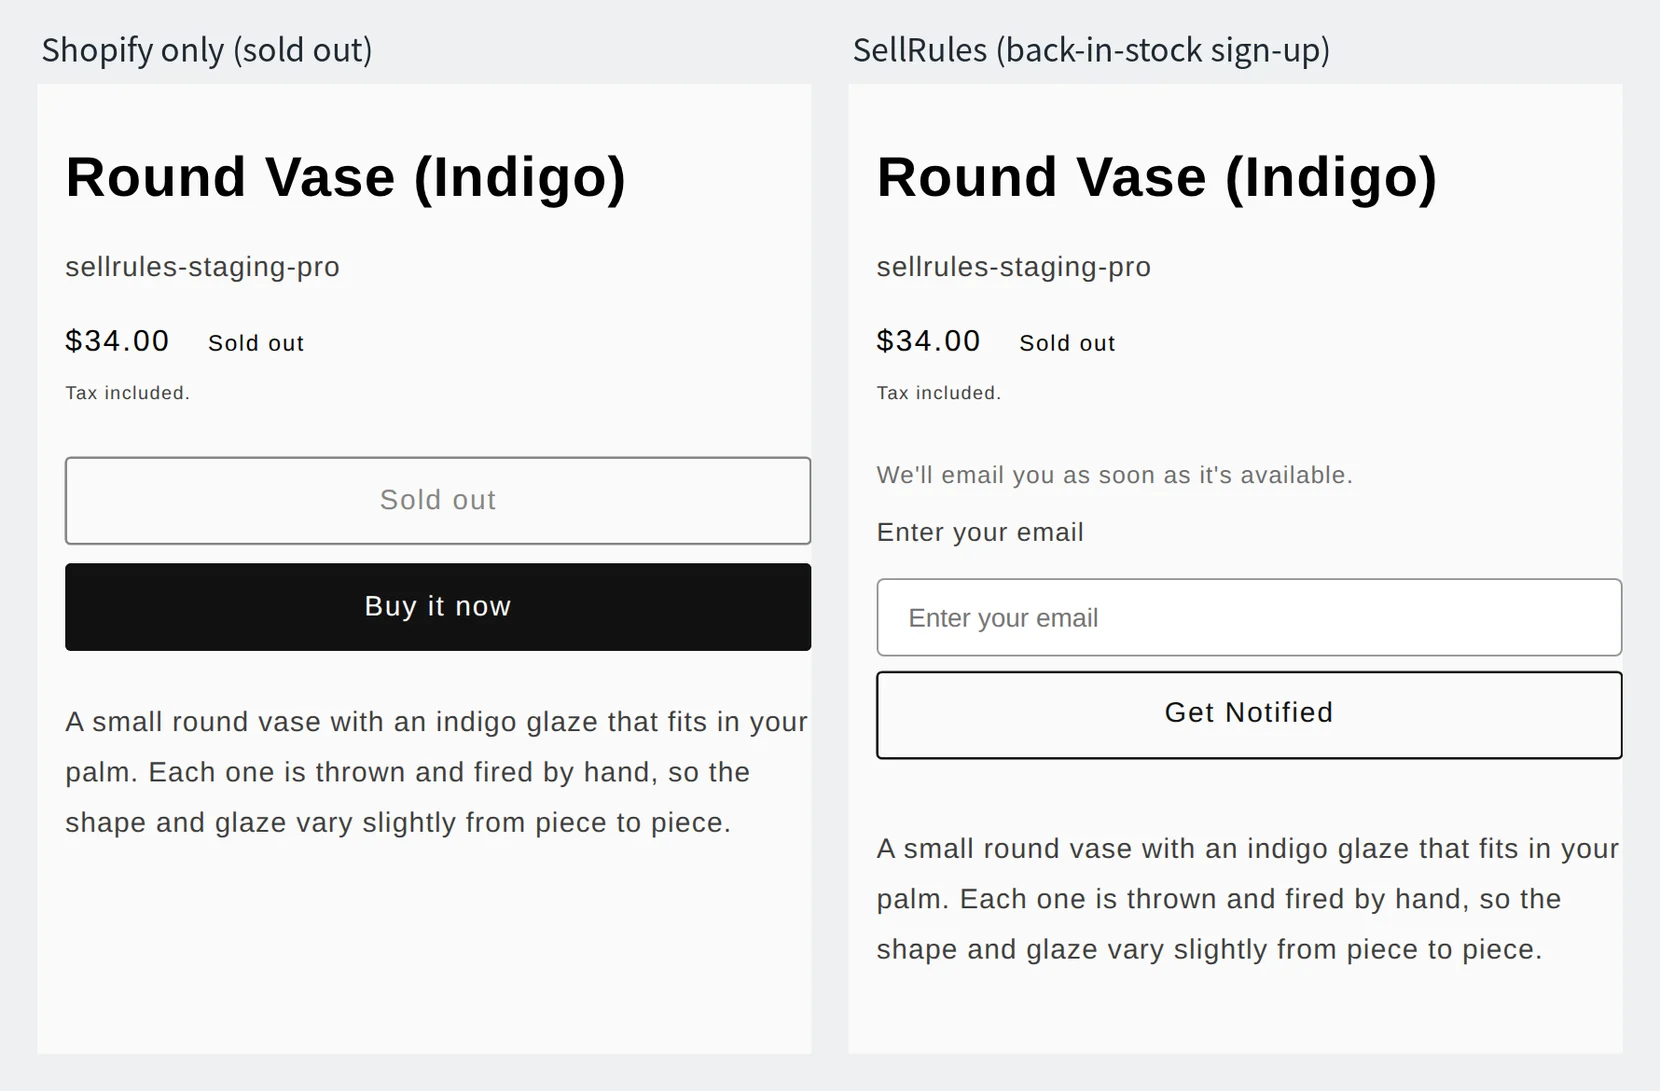
On its own, Shopify just turns the buy button into a sold-out button when a product's inventory is 0. Customers have no way to ask to be told when it's back.
| What you want to do | Shopify on its own | SellRules |
|---|---|---|
| Collect contact details from customers waiting for a restock | Take requests as they come in and note them down by hand | Customers sign up through the form on the product page |
| Let them know when it's back | Email each person on your list by hand | Emails go out automatically when stock returns |
| See who you've notified | Keep your own records | “Back-in-stock subscribers” shows each person's status and how many notices they've been sent |
How to set it up in SellRules
Once SellRules is installed, these steps walk you through creating and testing back-in-stock notifications on one product. Don't test on a product that's actually selling. Duplicate it to make a test product, and keep the test product published. Unpublished products can't be opened in your storefront, so you won't be able to see the sign-up form.
1. Turn on the SellRules app embed in your theme
In Shopify, go to “Online Store” > “Themes” > “Customize”. Under “App embeds” on the left, turn on SellRules and save. If the embed is off, the sign-up form won't appear on your product pages.
2. Create a sold-out switch with “Back-in-stock notification only”
Open “Purchase limits & sold-out” in the SellRules menu on the left. On the “Sold-out switches” tab, click “Create rule” and pick one product from the product list.
On the “Create sold-out switch” screen, set “Switch mode” to “Back-in-stock notification only” and click “Create”.
For products with options like color or size, choose “Whole product” as the scope to apply the same setting to every variant. You can also apply it only to “Specific variants”.
3. Adjust the sign-up form wording (optional)
The default wording works as it is. To match how your shop talks, go to “Settings” > “Button and label text” > “Edit and translate text”, open the “Texts” tab and change these four fields:
- Get notified button (default: “Get Notified”)
- Intro text above the form (default: “We'll email you as soon as it's available.”)
- Email input placeholder (default: “Enter your email”)
- Sign-up complete message (default: “You're signed up! We'll notify you when available.”)
On the Launch plan, you can change the email subject and body under “Settings” > “Email templates” > “Restock notification”, and use “Send test” to send yourself a sample.
4. Set inventory to 0 and sign up with your own email address
Set the test product's inventory to 0. SellRules checks inventory about every 5 minutes and switches the page when it does, so wait a few minutes before opening the product page.
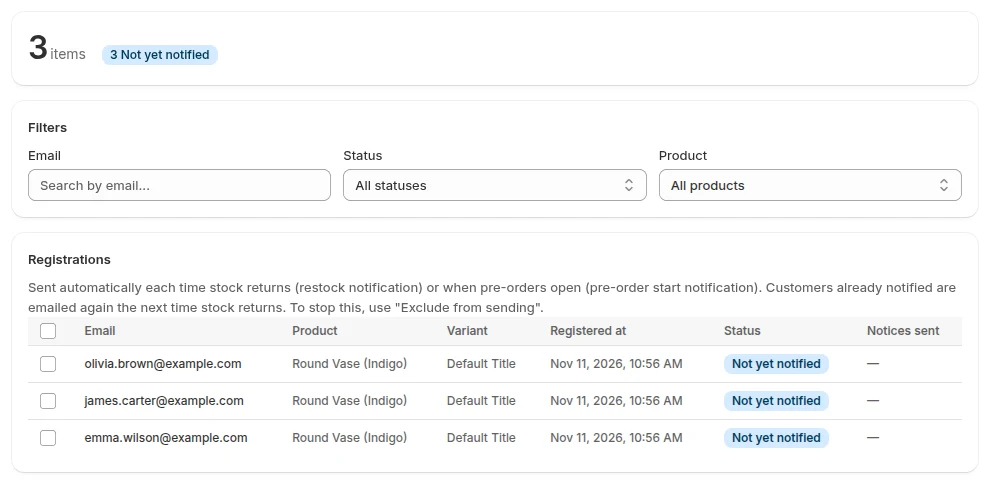
When the sign-up form appears, enter your own email address and click “Get Notified”. Then open “Back-in-stock subscribers” in the SellRules menu on the left. If your address is listed with the status “Not yet notified”, the sign-up worked.
5. Restock the product and check that the email arrives
Set the same product's inventory back to 1 or more. After a few minutes, check that everything matches this table.
| What to check | What you should see |
|---|---|
| Product page | The sign-up form is gone and your theme's normal buy button is back |
| Your row in “Back-in-stock subscribers” | Status is “Sent” and “Notices sent” shows “Sent 1 time” |
| Your inbox | An email with the subject “[Back in Stock]” followed by the product name has arrived |
When you're done, unpublish or delete the test product.
What to check when the email doesn't arrive
If someone signed up but didn't get an email, start with the status on their row in “Back-in-stock subscribers”.
| Status or symptom | Cause | Fix |
|---|---|---|
| No sign-up form on the product page | The SellRules app embed is off in your published theme | Turn it on and save, as in step 1 |
| No sign-up form even with inventory at 0 | The product doesn't track inventory, or the product or a variant has a manually created “Pre-order” or “Made to order” schedule (if the setting is on the whole product, the edit screen says “This product has a pre-order or made-to-order setting, so the sold-out switch won't take effect.”) | Turn on “Track quantity” on the product in Shopify. If you don't need the manual schedule, delete it from “Actions” on its row in “Sales schedules” |
| Still “Not yet notified” after restocking | SellRules hasn't run its inventory check yet | Wait a few minutes and reload the page |
| “Sent”, but it's not in the inbox | It went to the spam folder | Check the spam folder. To send from your own domain, add an address under “Settings” > “Sender email address”, then add the DNS records shown there to complete verification |
| “Sent” on the Free plan, but nothing arrived | Your lifetime email allowance since installing has been used up, so notifications are on hold (you'll get an email saying “Because the Free plan limit … has been reached”) | Switch to the Launch plan. Held notifications are sent after SellRules checks current inventory |
| Marked “Excluded” | The customer clicked the unsubscribe link in the email, or you used “Exclude from sending” | Sign-ups the customer unsubscribed from don't get emails. If a customer wants notifications again, ask them to sign up again on the product page |
On the Launch plan, “Email log” in the left menu also shows the status of each email (“Waiting to send”, “Sent”, “Failed” and so on). While the restock notification is set to “Stopped” under “Settings” > “Email templates”, no notifications are sent.
Pricing
Back-in-stock notifications are available on the Free plan. On Free, you can send up to 15 back-in-stock and sale-start emails in total from the day you install. That's enough to test sign-up and email delivery on one product.
To send notification emails without worrying about the count, switch to the Launch plan (US$7.99 per month). The Launch plan has no cap on email count, and it also lets you edit email templates and use the email log. Emails over the Free plan's lifetime allowance are put “on hold”. When you switch to the Launch plan, they're sent after SellRules checks current inventory.
SellRules plans and pricing
| Monthly price | LaunchEvery feature included | FreeStart with one product |
|---|---|---|
| Monthly price | US$7.99 per month | Free |
| Free trial | 10 days | None |
| Pre-order and made-to-order orders | Unlimited | Up to 10 in total |
| Back-in-stock and sale-start emails (Notify Me) | Unlimited | Up to 15 in total (not refilled monthly) |
| Purchase limits | No limit on products | Up to 1 product |
| Customizable notification emails | Yes | No |
| Deposit payments | Yes | No |
Pre-orders, made-to-order, back-in-stock alerts, purchase limits, stockout switching, deposit payments and order processing are all included in the Launch plan.
The first 10 days of the Launch plan are free. If you remove the app during the trial, you are not charged.
On the Launch plan, back-in-stock and sale-start emails have no sending cap. Required messages such as order confirmations, shipping updates and balance reminders are sent on every plan regardless of the cap.
The Standard and Pro plans are closed to new sign-ups. Shops already on them keep their current terms.
You can install SellRules from the Shopify App Store, where you can also check pricing and trial terms.
Frequently Asked Questions
How many back-in-stock emails does the same customer get?
One each time stock returns. Customers who already got a notification will get another one if the product sells out again and comes back in stock. Customers can stop future notifications with the “Unsubscribe” link in the email, and you can stop them with “Exclude from sending” in “Back-in-stock subscribers”.
Can I use the list of back-in-stock subscribers for other email campaigns?
Yes. Filter the list in “Back-in-stock subscribers” and click “Export CSV” to download a CSV with email addresses, product names, variants, statuses and more. If you use Klaviyo, you can connect it on the Launch plan under “Integrations” in settings and send back-in-stock notifications from your Klaviyo flows instead.
Related articles:
- Taking pre-orders or collecting back-in-stock sign-ups: Pre-orders or back-in-stock notifications for sold-out products
- Starting pre-orders: How to start pre-orders on Shopify
- Planning pre-orders, restocks and purchase limits together: How to set up early-access and limited sales on Shopify