For a made-to-order merch sale, you set an order window with a start and an end, and you make only what customers order during it. You need to decide 3 things:
- The order window (when orders open and when they close)
- A limit per order and a limit per customer
- When you will cancel orders you suspect are for resale
In the SellRules Shopify app, you enter the window and the limits in a made-to-order schedule. The buy button changes to “Order now” when the window opens and to “Sales ended” after the deadline. The conditions for cancelling orders go on the product page, so customers can read them before they order. This article is written by the developer of SellRules.
What customers see during the order window and after the deadline
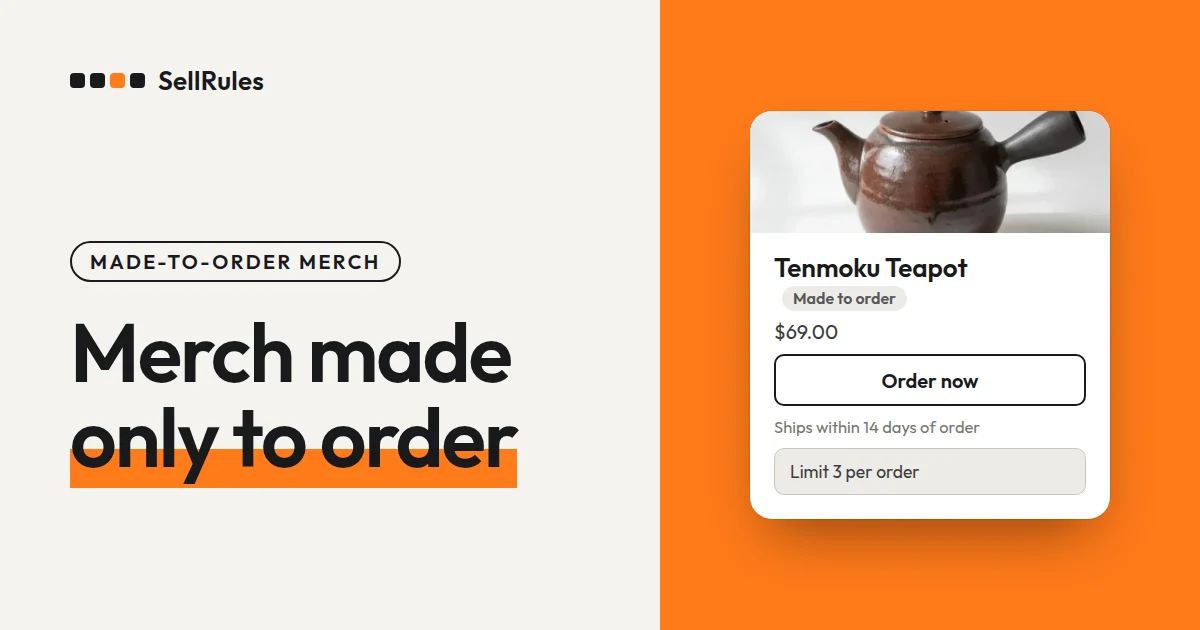
During the window, the buy button reads “Order now”, with the estimated shipping and the limit below it. After the deadline, the button changes to a disabled “Sales ended”.
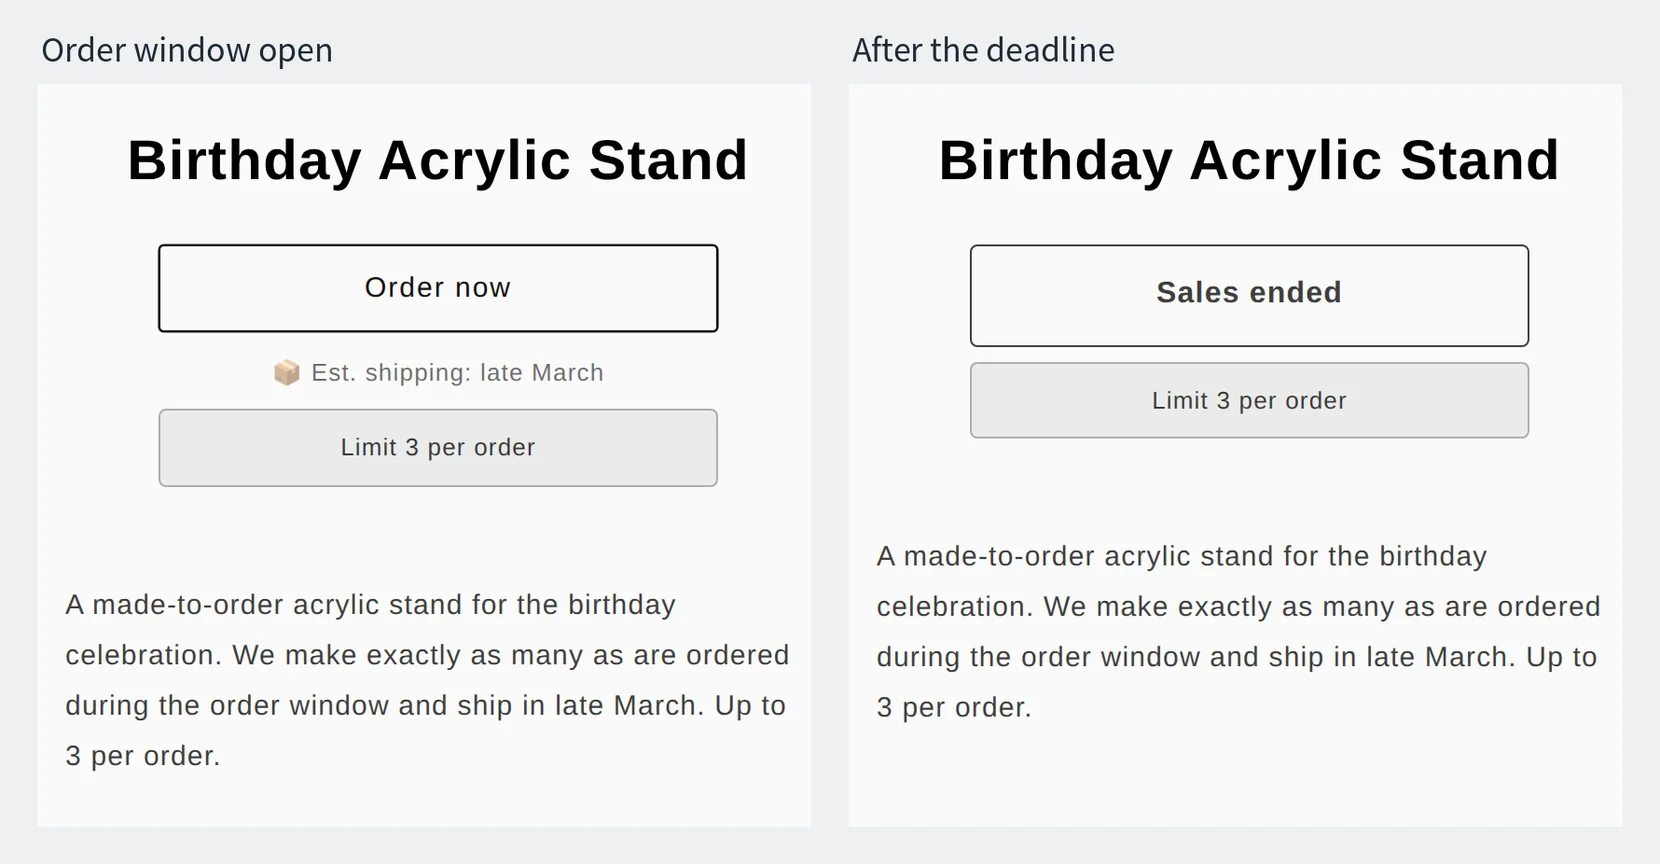
As an example, say you sell a birthday acrylic stand as made to order with these conditions (the dates and quantities are only examples):
- The window runs from January 10 at 18:00 to January 24 at 23:59
- Up to 3 per order
- Ships in late March
With those conditions, here is what customers and orders do:
| What the customer does | Result |
|---|---|
| Orders 2 during the window | The order goes through. The confirmation email subject starts with “[Made to Order]” |
| Tries to add 4 to the cart during the window | It isn't added to the cart, and a message explains that the limit is 3 per order |
| Opens the product page after midnight on January 25 | The page shows “Sales ended”, and the customer can't order |
How made to order differs from using Shopify alone
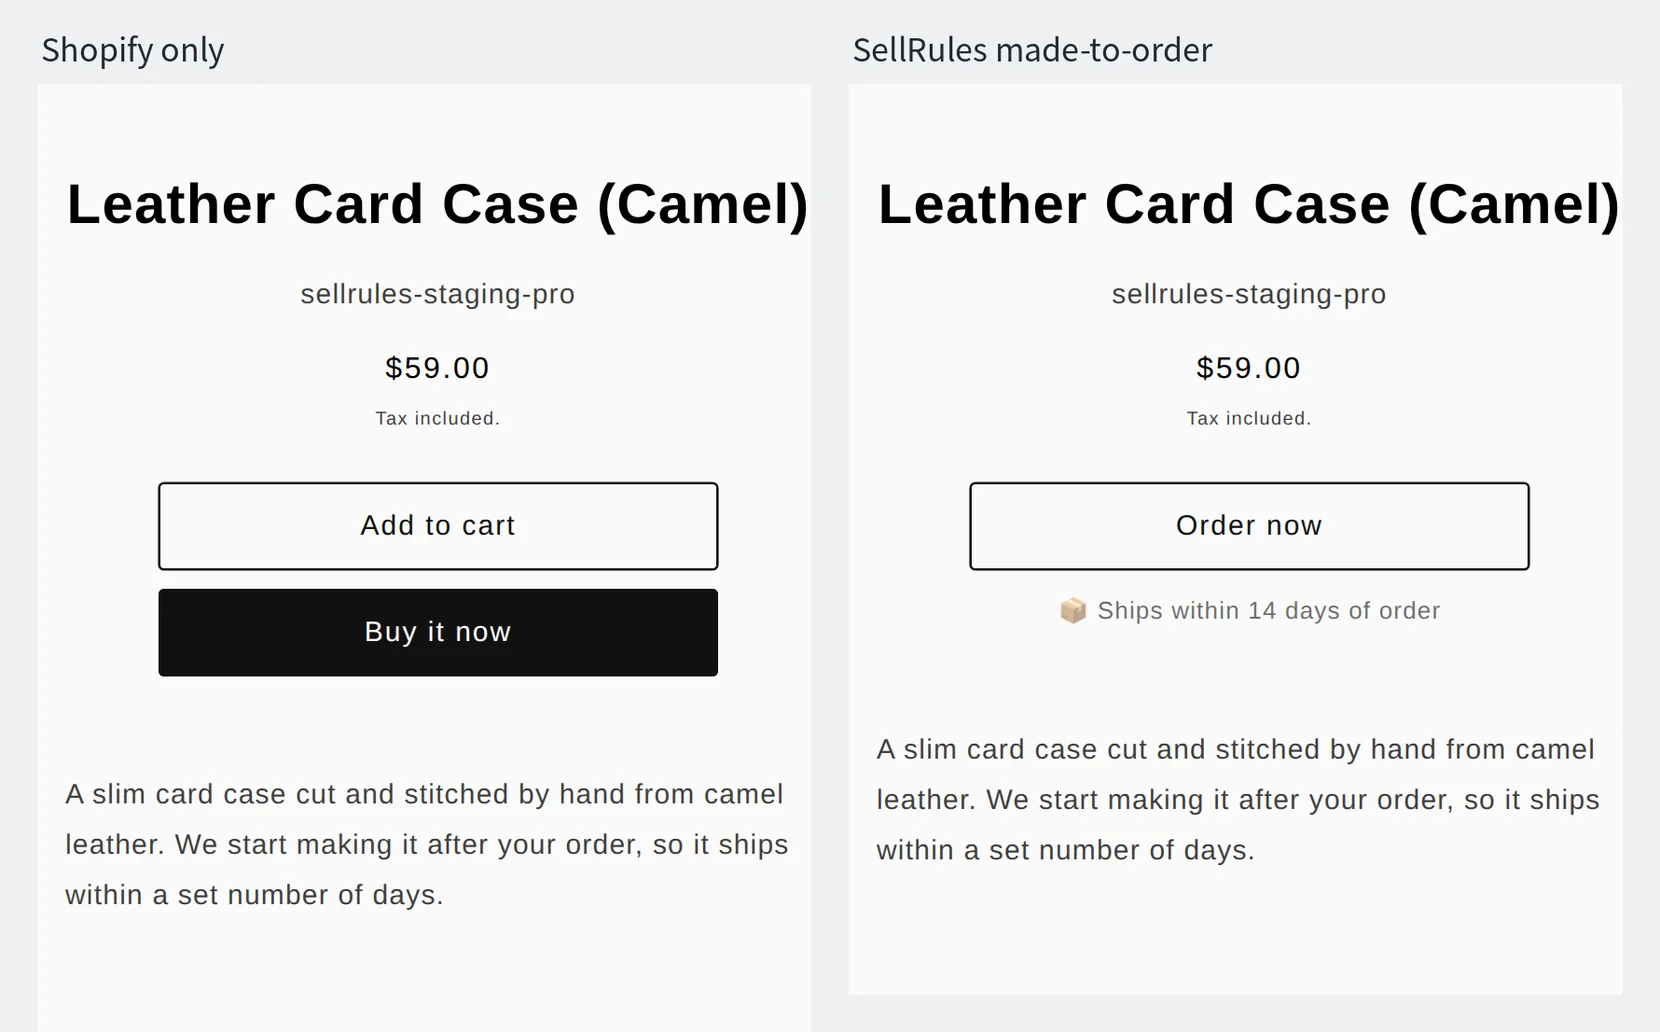
Shopify alone can take orders at 0 inventory if you turn on “Continue selling when out of stock” in the product's inventory settings. But you have to switch the settings by hand when the window opens and when it closes.
| Task | Shopify alone | SellRules |
|---|---|---|
| Start and end of the order window | Publish and unpublish the product in the admin at those times | The buy button switches at the date and time you enter |
| Limit per order | One number for every product | Set per product |
| Limit per customer across orders | Can't be set (customers can split their purchase into separate orders) | “Cumulative quantity limit per customer” stops them |
| Holding shipment until you've made the item | Put each order on hold by hand | Shipment is held automatically when the order comes in |
Shopify also has a built-in setting that caps how many of an item can go in one cart (Shopify Help, checked November 14, 2026). That cap applies to every product in the store with the same number, and it doesn't count repeat purchases split across orders.
Set the order window to the exact time it starts and ends
Set the window to start and end at exact times. That way, everyone who comes from your announcement can order at the same moment.
Work out the deadline backwards from the estimated ship date. If you use a factory, you count the orders after the deadline and then place your order. Add the days from order to delivery to the days for inspection and shipping once the goods arrive, and pick a deadline that still meets the ship date. If the goods need to arrive before an event, count back from the event date. For example, if delivery takes 5 weeks after you order and inspection and shipping take 1 week, the deadline is 6 weeks before the event.
Also put the deadline and ship date in the product description.
Order window: January 10, 18:00 to January 24, 23:59 Estimated shipping: late March We make exactly as many as are ordered during the order window. We can't accept orders after the window closes.
Since you make everything ordered during the window, you normally take orders without a total quantity limit. Set a “Total quantity limit” only for products where the factory's capacity or your materials are limited.
Set a limit per order and a limit per customer
Choose the limit that matches the kind of buying you want to stop.
| Kind of buying to stop | SellRules setting | Limit customers see |
|---|---|---|
| Buying a lot in one order | “Max per order” | “Limit 3 per order” |
| Splitting purchases across several orders | “Cumulative quantity limit per customer” and “Login required” | “Limit 1 per customer in total” |
A made-to-order sale reaches everyone who orders during the window, so for most merch a per-order limit is enough. For products that one person might buy many of, such as blind-box pin badges, set the limit higher.
For something like a signed postcard, where the number you can make is fixed, limit the total per customer instead. “Cumulative quantity limit per customer” adds up the orders of a logged-in customer, so set purchase eligibility to “Login required”. Guest orders can't be matched to one person, so they can't be counted.
To sell only to fan club members, set purchase eligibility to “Tag required” and tag the members' customer accounts. For how to add tags, see how to run a members-only sale.
Write down how you handle suspected resale before orders open
Purchase limits count orders from the same customer account, so an order from a different account counts as a different customer. Whether to cancel such orders is up to you, so state your conditions on the product page before the window opens.
If we find orders placed for resale, or orders over the limit, after the order window, we will cancel them before production.
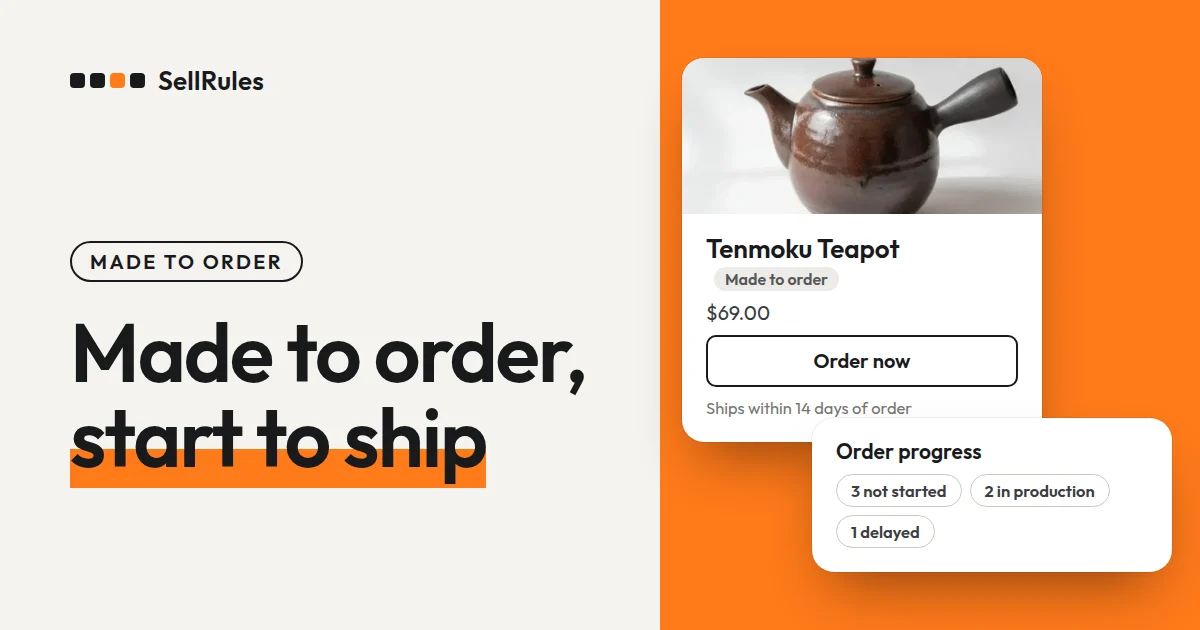
In a made-to-order sale, the time between the deadline and the start of production is when you can compare orders. Made-to-order orders appear in SellRules “Order progress” as “Not started”, and shipment stays on hold until you click “Start production”. Compare customer names there, check the shipping address on the Shopify order page for any order that looks off, and then cancel it. Place your order with the factory using the number of orders that remain.
For how to recognize orders from different accounts, “Coming soon” to block orders before launch, and selling only to customers who win a draw, see how to reduce resale and bulk buying of limited items.
How to set it up in SellRules
You set the order window and the limits in one made-to-order schedule.
- In Shopify, go to “Online Store” → “Themes” → “Customize”, turn on SellRules under “App embeds” on the left, and save.
- In SellRules, open the “Made to order” tab under “Sales schedules”, click “Create made to order”, and choose your merch product with “Select product”.
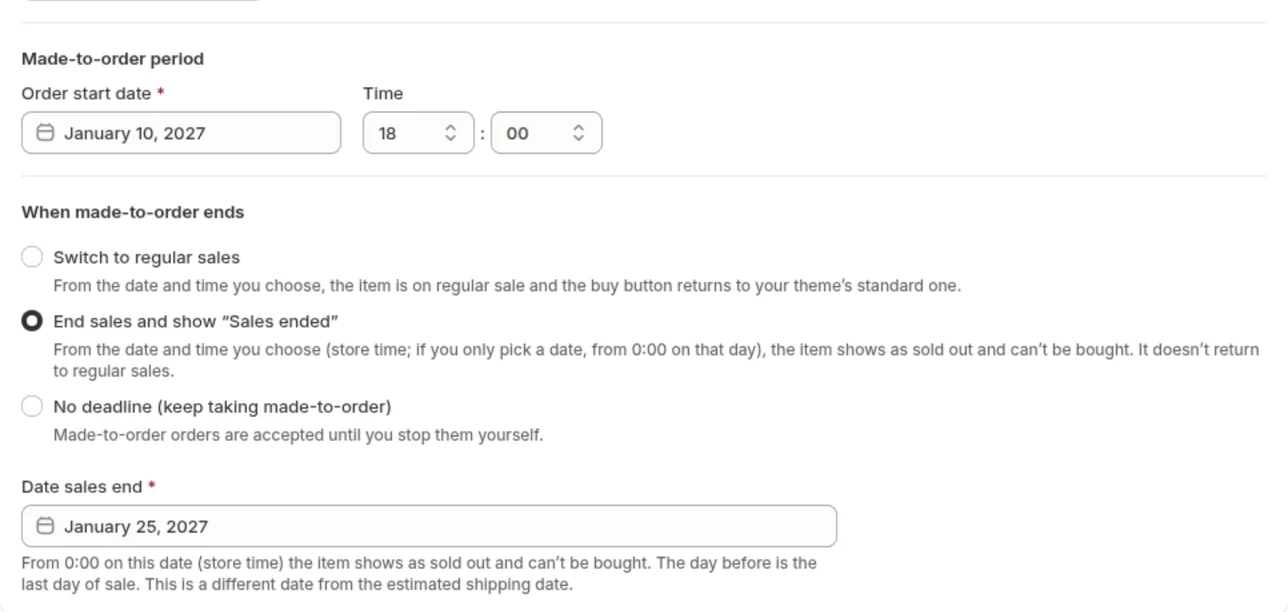
- Under “Order start date”, enter the date and time the window opens (January 10, 18:00).
- Under “When made-to-order ends”, choose “End sales and show "Sales ended"”, and under “Date sales end” enter the day after your deadline (January 25). The product shows “Sales ended” from 0:00 that day.
- Under “How to set the shipping date”, choose “Ship on fixed date”, enter “late March” in “Estimated shipping (text)”, and enter a date you can keep in “Estimated ship date”.
- Click “Show extra settings” and enter 3 under “Max per order” in “Purchase limits (optional)”. For a product limited by the total per customer, also fill in “Cumulative quantity limit per customer” and choose “Login required” for purchase eligibility.
- Click “Create”.
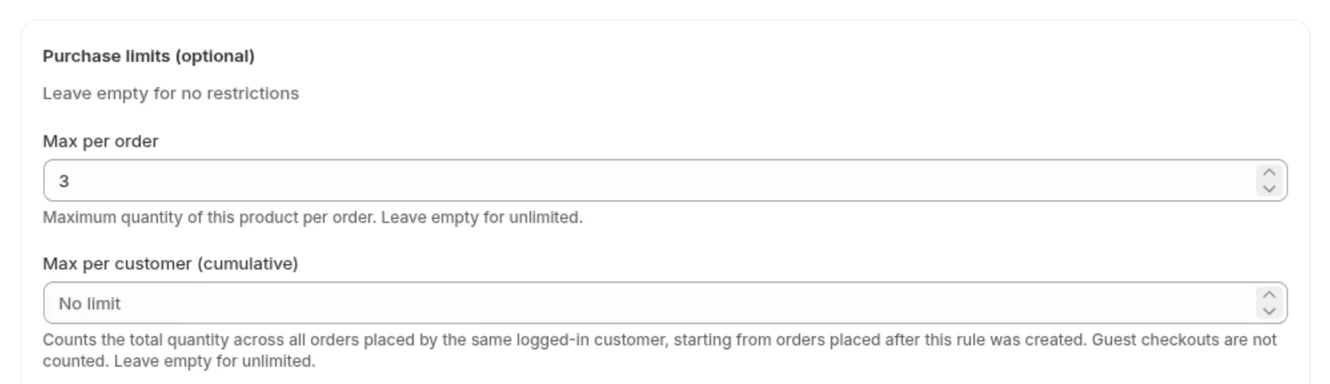
For a product with a limit, also check in Shopify under “Settings” → “Checkout” → “Checkout rules” that “Purchase limits (SellRules)” is turned on.
For each made-to-order screen and how to check it with a test order, see how to sell made-to-order products on Shopify.
What to do after the deadline
After the deadline, check how many orders you have, place your order, and ship when the goods arrive.
- In SellRules, open the “Made to order” tab under “Sales schedules” and look at “Orders” for that product.
- In “Order progress”, compare the orders listed as “Not started”. For any you will cancel, check the shipping address on the Shopify order page and cancel there.
- Place your order with the factory using the number of orders that remain.
- When you are ready to prepare shipment, click “Start production” on the order in “Order progress” to release the hold. To release several at once, select the orders and click “Start production / prepare shipment”.
If you find you will miss the ship date, click “Edit ship date” in “Order progress”, enter the new date, select “Notify customer of delay” and save.
When it doesn't work
| Problem | Cause | Fix |
|---|---|---|
| The regular buy button is still showing after the start time | The SellRules app embed is off in the live theme | Turn it on and save, as in step 1 |
| “Sales ended” appeared on the morning of the deadline day | You entered the deadline day itself in “Date sales end” | Enter the day after the deadline |
| An order over the limit got through checkout | “Purchase limits (SellRules)” is not turned on | Turn it on in “Checkout rules” |
| A guest order went over the cumulative limit | Purchase eligibility is “No restriction” | Set purchase eligibility to “Login required” |
Pricing
Made to order and purchase limits work on the Free plan. The Free plan covers a lifetime total of 10 pre-orders and made-to-order orders. That is enough to try the window switch and the limits on your first merch product.
When you want to take more than 10 orders on the Free plan, switch to the Launch plan (US$7.99 per month).
SellRules plans and pricing
| Monthly price | LaunchEvery feature included | FreeStart with one product |
|---|---|---|
| Monthly price | US$7.99 per month | Free |
| Free trial | 10 days | None |
| Pre-order and made-to-order orders | Unlimited | Up to 10 in total |
| Back-in-stock and sale-start emails (Notify Me) | Unlimited | Up to 15 in total (not refilled monthly) |
| Purchase limits | No limit on products | Up to 1 product |
| Customizable notification emails | Yes | No |
| Deposit payments | Yes | No |
Pre-orders, made-to-order, back-in-stock alerts, purchase limits, stockout switching, deposit payments and order processing are all included in the Launch plan.
The first 10 days of the Launch plan are free. If you remove the app during the trial, you are not charged.
On the Launch plan, back-in-stock and sale-start emails have no sending cap. Required messages such as order confirmations, shipping updates and balance reminders are sent on every plan regardless of the cap.
The Standard and Pro plans are closed to new sign-ups. Shops already on them keep their current terms.
You can install SellRules from the Shopify App Store, where the pricing and trial terms are also listed.
Frequently asked questions
Can I extend the order window for customers who missed the deadline?
Yes. Open the product in “Sales schedules” in SellRules, change “Date sales end” to a new date and save. The product page goes back to “Order now”. If you have already placed your order with the manufacturer, it is easier to count the extra orders as a separate order window.
What happens if a customer orders a made-to-order product together with an in-stock product?
It is accepted as one order. The cart shows “Your cart contains items with different estimated ship dates. Consider checking out separately if you need items sooner.”, and shipment of the made-to-order item stays on hold until you click “Start production”.
Related articles:
- Choose how to sell: how to plan advance and limited sales
- Choosing by industry: pre-orders vs. made to order by industry
- Made-to-order settings screen by screen: how to sell made-to-order products on Shopify
- Reduce bulk buying of limited items: how to reduce resale and bulk buying of limited items
- Set up a purchase limit rule: how to limit purchases to 1 per customer
- Made-to-order and in-stock items in one order: shipping when a customer buys a pre-order and a regular item together
The acrylic stand, dates and quantities are examples for illustration.