Home Shipping Setup for Click Post: 8 Items for Your Workspace and How to Arrange Them
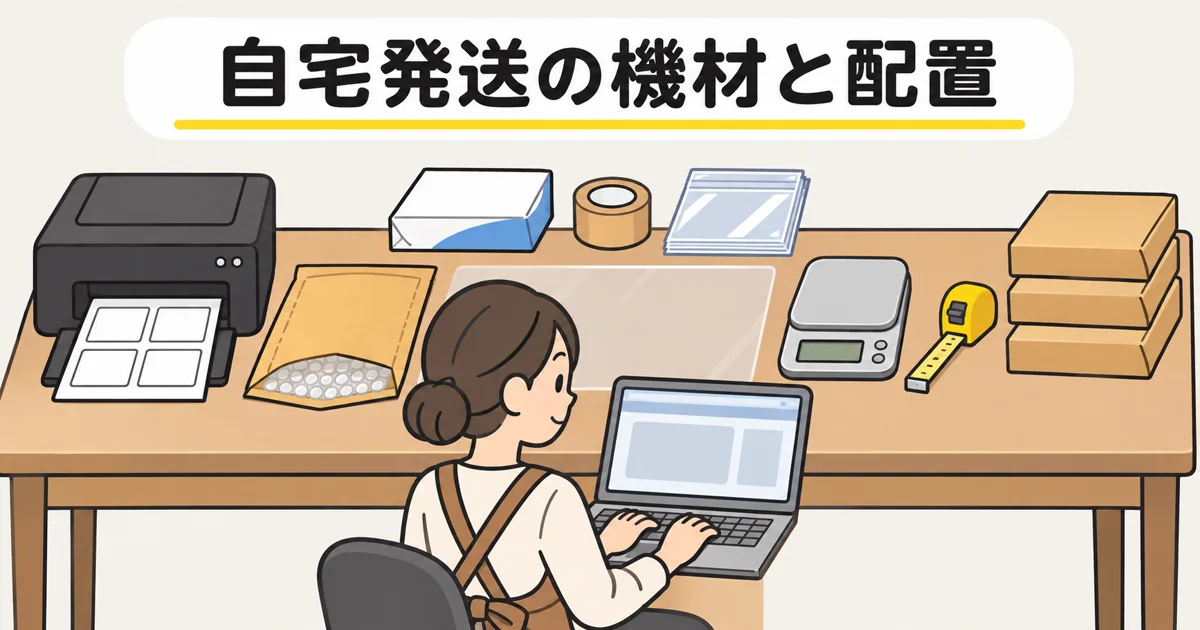
To ship from home, you need 8 items: a printer, A4 copy paper, a scale, a tape measure, envelopes, cushioning, tape and OPP bags. Set them out in the order you work, with the scale and tape measure next to your packing area, and check weight and size after every parcel is packed.
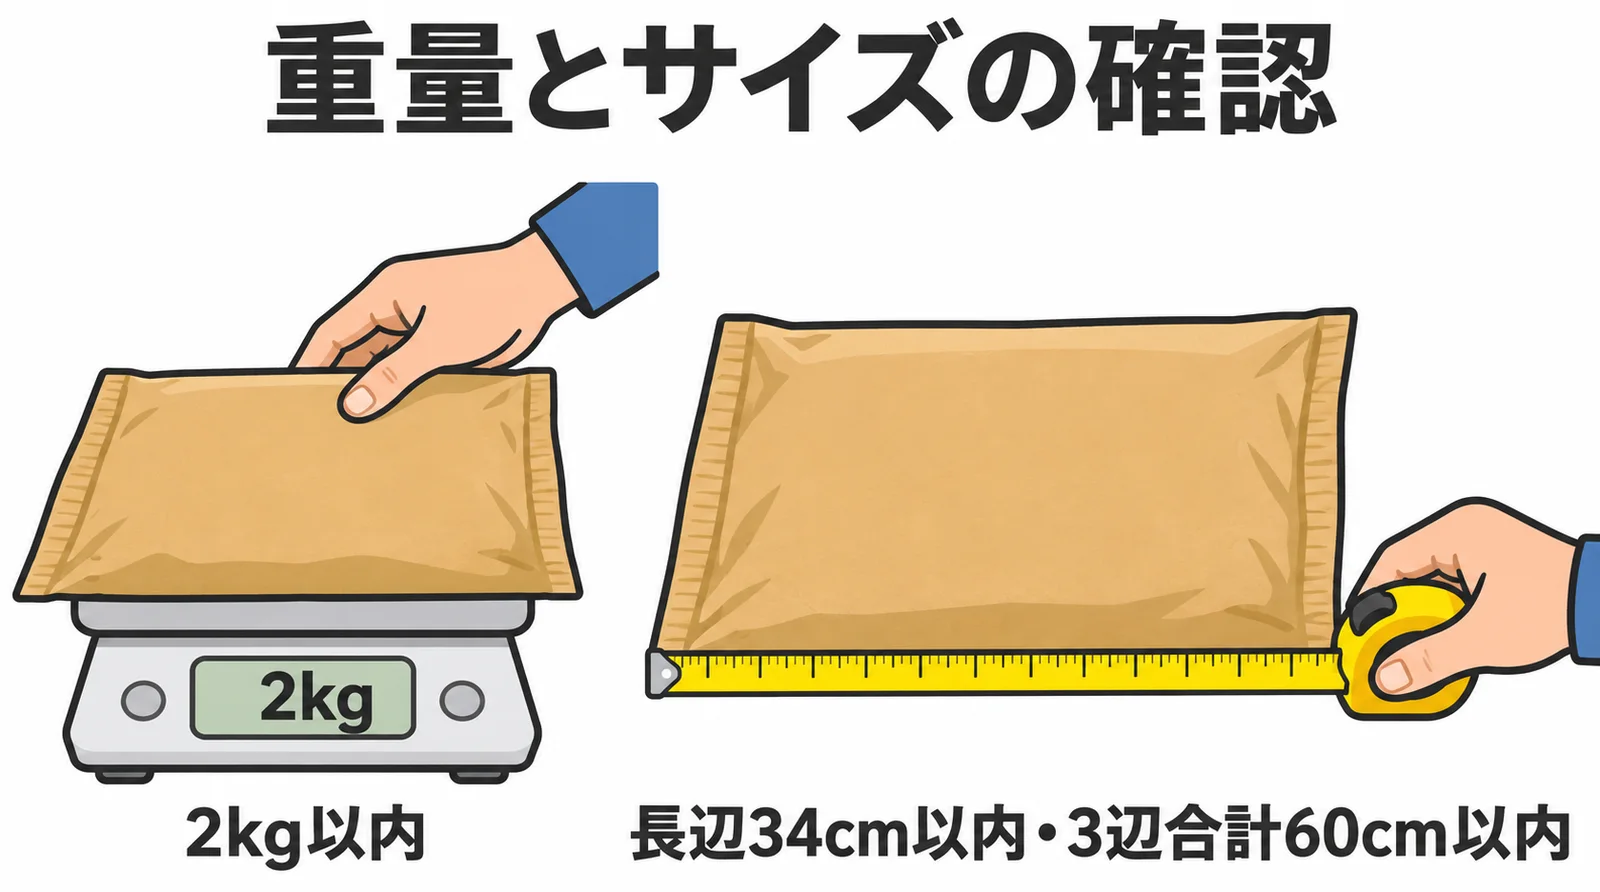
Click Post's current conditions are a weight of 2 kg or less, a longest side of 34 cm or less, and a three-side total of 60 cm or less, and the parcel must be postable in a postbox (revised October 1, 2026; checked against Japan Post's guidance on November 14, 2026). The details are in October 2026 Click Post Changes: Rates, Sizes, and Drop-Off Methods.
What You Need to Ship from Home
The 8-item checklist
Here is the full list first, so you can see what you already own.
| Item | Use |
|---|---|
| Printer | Printing shipping labels |
| A4 copy paper | Label printing (4 labels per sheet) |
| Digital scale | Checking weight after packing (2 kg or less) |
| Tape measure or ruler | Checking longest side (34 cm or less) and three-side total (60 cm or less) after packing |
| Envelope (padded or plain) | Outer packaging |
| Cushioning (bubble wrap, foam sheet, etc.) | Protecting the product |
| OPP bags | Inner bag against water |
| Tape (OPP tape or clear tape) | Sealing and attaching the label |
You probably own several of these already. Buy only what is missing and your startup cost stays low. Prices for packing materials vary by shop and season, so this article does not list amounts.
Choosing a Printer: Inkjet or Laser
Comparison table
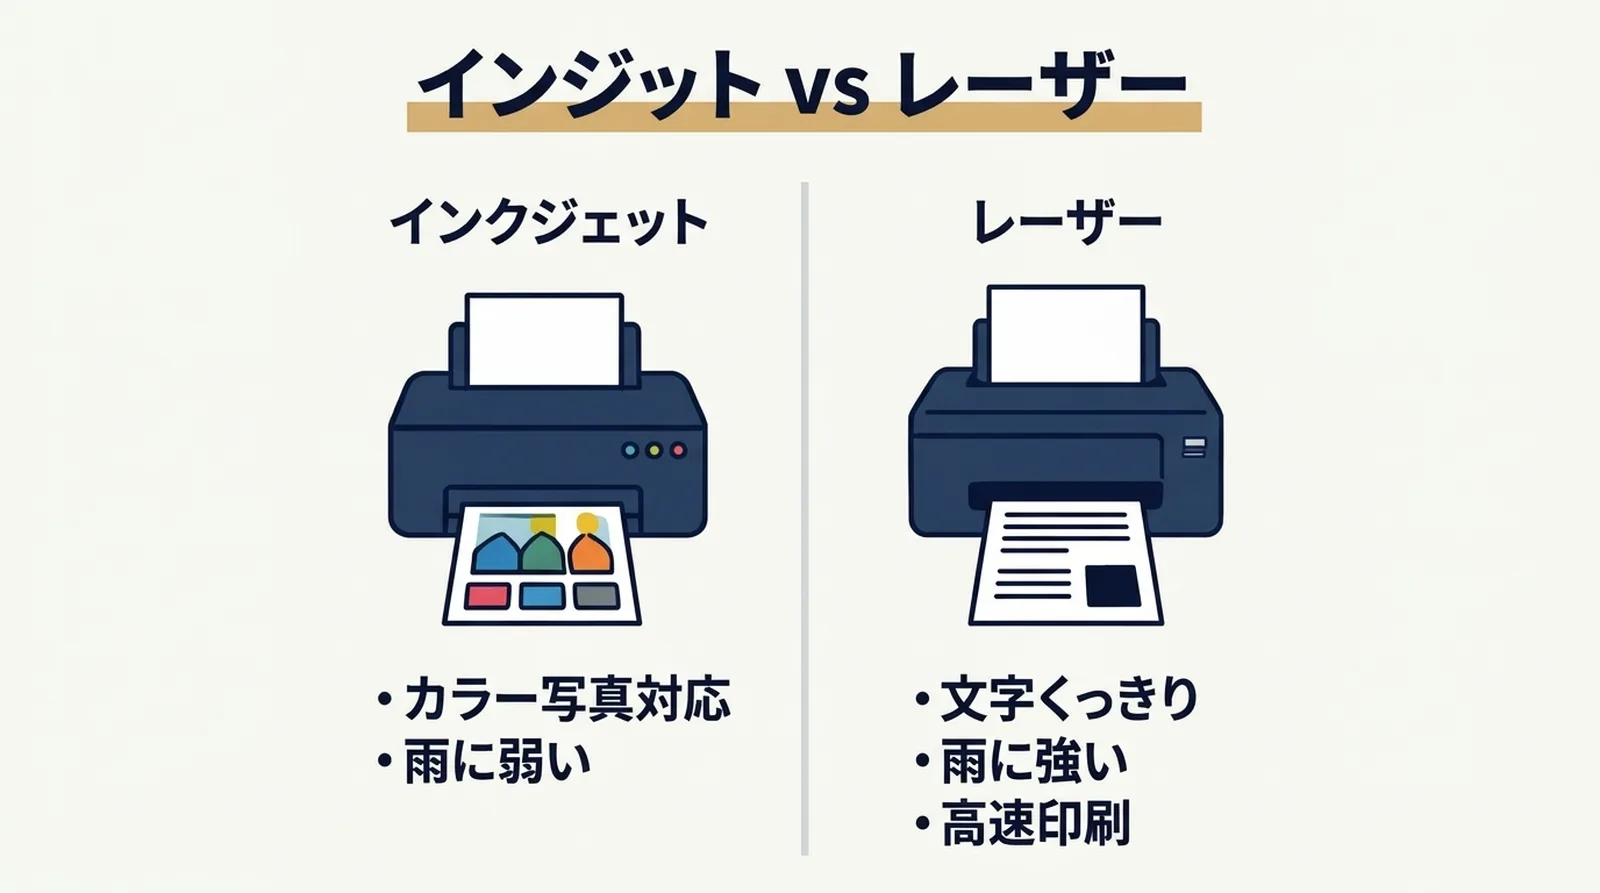
Either an inkjet or a laser printer can print shipping labels. They differ in a few ways that matter depending on how you use them.
| Inkjet | Laser (monochrome) | |
|---|---|---|
| Print speed | Average | Fast |
| Label smudging | Weak against water (can run in rain) | Water-resistant |
| Product photos | Good quality | Black and white only |
| Ink drying | Can clog if used rarely | Does not dry out |
If you ship every day, a laser printer is steadier
A label only needs to be sharp enough for the barcode to scan, and it must not smudge in water. You do not need color.
At around 10 parcels a day, an inkjet works fine. But an inkjet head can clog if the printer sits unused for a while. In my case, I used an inkjet at first, and during the rainy season a label smudged and the barcode would not scan. I switched to a monochrome laser after that.
Toner lasts a long time, with one cartridge printing several thousand pages. If you use the printer only for shipping labels, the running cost ends up lower than an inkjet.
If you also want to print product photos or color promotional material at home, an inkjet is more versatile. Decide based on whether the printer will do labels only or other jobs too.
Label Print Settings: 4 Labels per A4 Sheet
How Click Post labels are laid out
A Click Post shipping label prints 4 to an A4 sheet. A single bulk print produces labels for up to 20 parcels, which takes 5 sheets of A4.
After printing, cut the 4 labels apart with scissors or a cutter and attach one to each parcel.
Print settings to check
- Set the paper size to A4.
- Print at "actual size". Scaling up or down can make the barcode unreadable.
- Black and white is enough.
- Turn double-sided printing off.
The most reliable way to attach a label is to tape down all four edges. Glue alone can let the label peel off in transit. For rain, put OPP tape over the whole label to keep water from smudging it.
Scale and Tape Measure: Check Weight, Size and Postbox Fit After Packing
Choosing a digital scale
Click Post's weight condition is 2 kg or less. A product can be light on its own, yet become heavier than you expect once the cushioning and envelope are added. Do not assume it is probably fine; weigh every parcel after it is packed.
A scale that reads in 1 g steps is enough, and a kitchen scale works too. Pick one that can weigh more than 2 kg.
Measuring the longest side and three-side total with a tape measure
The size condition is a longest side of 34 cm or less and a total of length, width and thickness of 60 cm or less. Measure the outside of the packed parcel, including the cushioning and envelope, not the product alone.
The parcel must also be postable in a postbox. You can check a postbox's slot size with Japan Post's "Find post offices, ATMs and postboxes" page. A parcel over the conditions cannot be sent by Click Post. Measure the packed parcel every time, before you drop it in.
Keep the tape measure or ruler right next to the packing area. When a parcel is packed, put it on the scale, then measure the longest side and the three sides. Doing these 2 steps every time cuts down on rework, such as finding out after the label is on that the parcel is over the limit.
Counter exceptions apply only at 3 cm or less
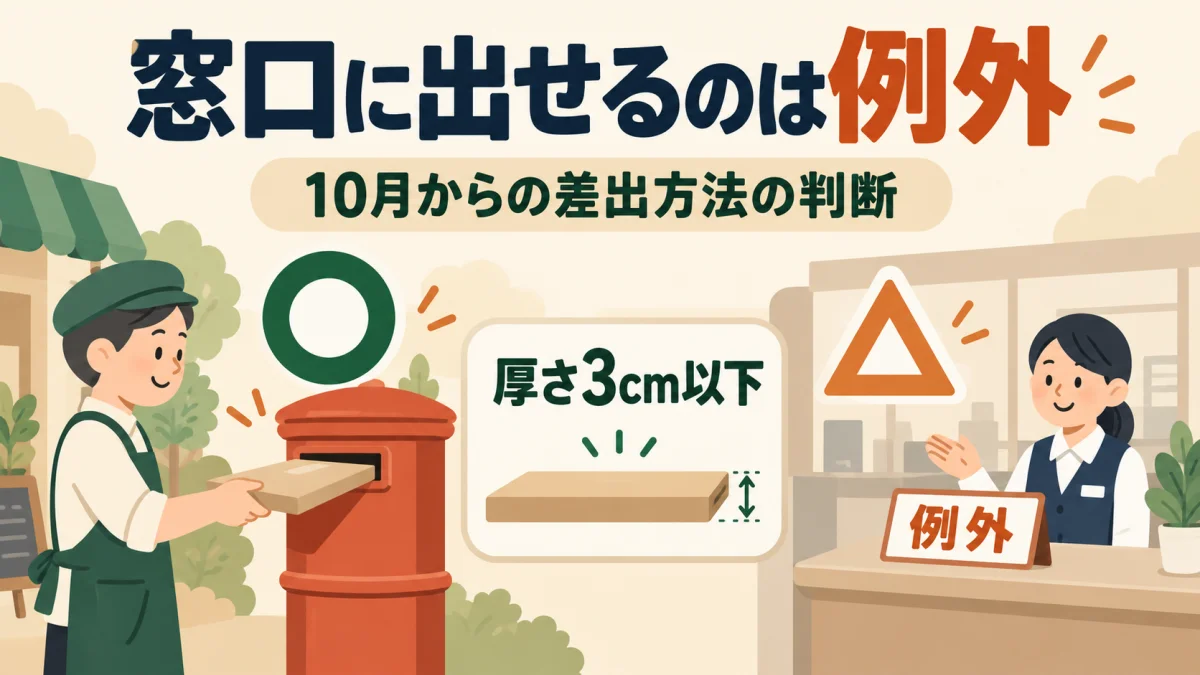
Under Japan Post's counter drop-off guidance, you can hand a parcel in at the counter only if an exception applies, such as the postbox being unusable, and the parcel is 3 cm thick or less. Measure the thickness after packing. The exceptions are covered in When Can You Drop Off Click Post at the Counter? Exception Conditions and Postbox Decisions, and how this differs from the old 3 cm cap is in Click Post's 3 cm Thickness Guidance: Current Size and Drop-Off Rules.
Gathering Packing Materials
Start with a small batch
Do not buy envelopes and cushioning in bulk at the start. If the size is wrong or the material does not suit your product, you are stuck with stock.
Try a small pack of 10–20 first, check the fit and how easy it is to use, and move to buying in units of 100 only after that.
A basic set for each product
This is the packing material I use day to day.
| Product | Inner bag | Cushioning | Outer packaging |
|---|---|---|---|
| TRRS cable | OPP bag | None (cables are flexible, so it is not needed) | Padded envelope |
| Resin keycap | OPP bag | Foam sheet | Padded envelope |
Both use an OPP bag as the inner bag. It keeps the product dry when a parcel goes into a postbox on a rainy day, and it makes the first packing step the same for every product.
You can change the cushioning to suit how fragile the product is and still keep the same sequence.
Fixing Your Work Flow
Arrange the workspace as an assembly line
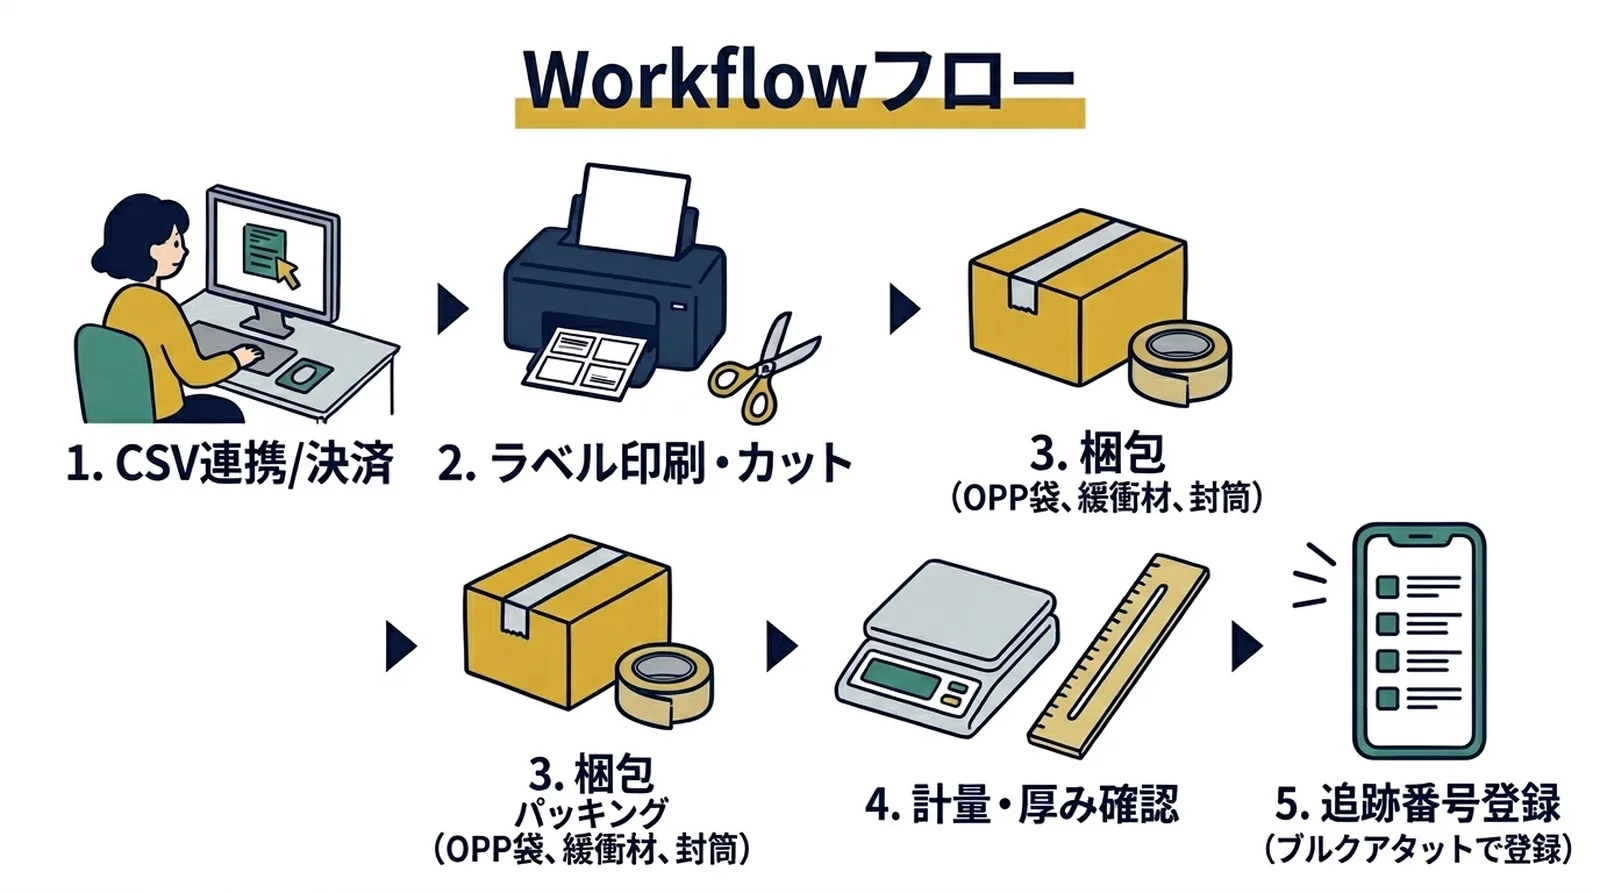
Even a small workspace gets much more efficient if you lay out the equipment in the order you work. The order is:
- Computer (CSV export, bulk application, payment)
- Printer (label printing)
- Packing area (product, envelope, cushioning, tape, OPP bags)
- Scale and tape measure (measuring)
- Finished-parcel spot (where parcels wait to be posted)
Arrange these from left to right, or from front to back, and you will not need to walk around the room while working. Put the scale and tape measure next to the packing area so that each finished parcel moves in one direction, from packing to measuring to the waiting spot.
Keep packing materials within arm's reach
If envelopes, OPP bags, cushioning and tape are in different places, you fetch them for every parcel, and the lost time adds up without being obvious.
Keep them together in a storage box or file stand from a 100-yen shop, and "take, insert, seal" becomes a single smooth motion. I put all my packing materials on a small cart and park it beside the work table.
Workflow and timing are in a separate article
The step-by-step routine, from CSV export to entering tracking numbers, is in How to Build a Shipping Workflow That Finishes 10 Orders a Day in 15 Minutes. The whole shipping flow is in the Shopify × Click Post Shipping Guide: The Flow from CSV Export to Tracking Registration.
Frequently Asked Questions
Q. Can I print labels at a convenience store if I don't have a printer?
Yes. Click Post labels are output as PDFs, so a convenience-store multifunction copier can print them. But you have to make the trip every time, and you pay for each page printed. If you ship 50 or more parcels a month, owning a printer costs less overall.
Q. Should I use label sticker paper?
Sticker paper saves effort because you can stick the label on right after cutting. But the paper costs several times as much as A4 copy paper. Click Post labels print 4 to an A4 sheet, so the sticker sheet layout may not match. Weigh the cost against the effort. In my case, I settled on printing on A4 copy paper and attaching labels with OPP tape.
Q. What if my workspace is too small to arrange everything?
One table is enough. Keep the packing materials in a cart or storage box and pull them out only when you need them, so they do not take over your living space. If you make it a routine to put everything away when shipping is done, you keep the work area and your living area separate.
Summary
The equipment you need to ship from home is 8 items: a printer, A4 paper, a scale, a tape measure, envelopes, cushioning, tape and OPP bags.
Arrange them in the order you work, keep the packing materials within reach, and put the scale and tape measure beside the packing area. Avoid rearranging the setup between sessions. If you handle every parcel in the same place and the same order, you make fewer decisions and your hands do the work on their own.
Once your home shipping setup is ready, you may also want to look at Instant Shipping! for Click Post. It gathers addresses and other details into a Click Post file, reads tracking numbers from the label PDFs and registers them in Shopify, which cuts down the tracking-number entry after you print labels. JizaiDev, the publisher of this site, develops and provides this app.