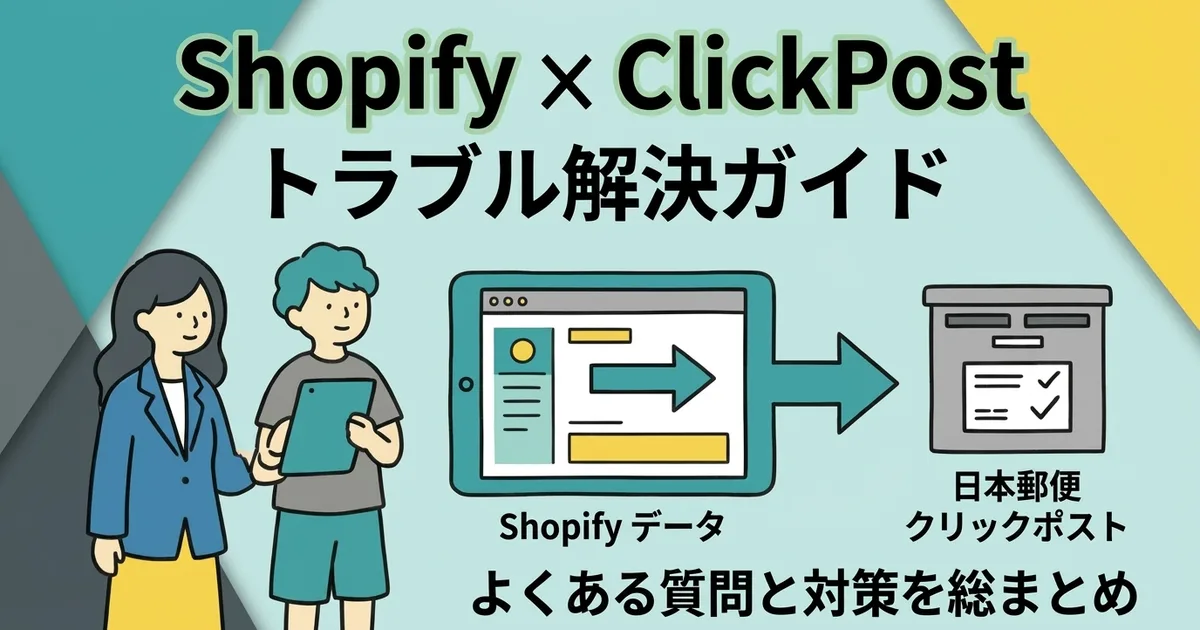
This article is a quick-reference Q&A guide addressing moments when you stop and wonder, "What should I do here?" while shipping with Click Post. To help you browse individual questions, the 19 questions are divided into CSV, Addresses, Size and Weight, Tracking, Payment and Printing, and After Shipping.
Including terms following the October 1, 2026 revision, on October 16, 2026, we verified Japan Post's current service guide, revision announcement (July 3, 2026, PDF), Click Post FAQ, bulk application CSV creation manual (PDF), and Shopify's customer notifications setup. We have separated conditions that can be officially confirmed from details that cannot be confirmed through public materials.
For the overall shipping workflow, please refer to the Shopify x Click Post Shipping Guide. This article is a reference for when you want to quickly find answers to specific questions.
CSV Issues
Q. Garbled text appeared when uploading a CSV to Click Post
The Click Post bulk application CSV is in Shift-JIS CSV text format. If garbled text or import errors occur, check the character encoding, template column order, and headers against the official manual.
When exporting a CSV, check the format and character encoding in the official CSV creation manual. Opening the file in a different spreadsheet program and saving it again can change the settings, so verify the save format before uploading. You can also refer to Preparing a CSV for Click Post for how to create a CSV from Shopify.
Q. What is the limit for CSV uploads in bulk applications?
In the official manual, a single CSV upload can contain up to 40 entries. For 41 or more entries, divide them into batches of 40 or fewer and upload multiple times.
When splitting the file, check that there are no duplicate or missing order rows. The basic workflow for bulk applications is summarized in Click Post Bulk Application Procedure.
Q. The CSV format does not match Click Post specifications
In the official manual's template, Column A is the postal code, Column B is the recipient name, Column C is the honorific title, Columns D through G are Address Lines 1 through 4, and Column H is the item description. Do not modify the header (Row 1).
Input requirements for postal code, recipient name, honorific title, address, and item description are also determined for each column. Compare the manual's template with Shopify's export fields to align column order and mandatory fields. If an import error occurs on only some rows, as stated in the manual, you can choose to register only the successfully imported destinations or go back and edit the CSV.
Address Issues
Q. Import fails due to an address error
Address Lines 1 through 4 must each be within 20 full-width characters or 40 half-width characters, with at least 1 field filled in. If the limit is exceeded, do not delete original information; instead, divide it legibly across multiple fields and verify that connecting each field in order forms the original address.
This character limit requirement is stated in the official CSV creation manual. Rather than trimming building names or room numbers to fit within the limit, split them across Address Fields 1 through 4 to preserve destination details. You can also refer to How to Split Address Fields and Verify Address Data for input examples.
Q. A postal code error occurs
Postal codes must be 7 half-width digits, or 8 characters consisting of 7 half-width digits with a half-width hyphen. Do not include full-width numbers or full-width hyphens, and check the input field format.
The official CSV creation manual specifies 7 half-width digits without a hyphen or 8 characters consisting of 7 half-width digits and a half-width hyphen. After creating the CSV, also verify that no full-width characters or extra spaces are mixed into the postal code column.
Q. The customer's address is cut off midway
When mapping Shopify address information to Address Fields 1 through 4 of the official Click Post CSV template, check the character count and split positions for each field. Ensure that building names and room numbers are not deleted and that joining them in sequence restores the original address.
Deleting part of an address may make it impossible to identify the delivery destination. Before uploading the CSV, double-check whether the postal code, town/street number, building name, and room number are all retained.
Size and Packaging Issues
Q. The package exceeds 3 cm in thickness
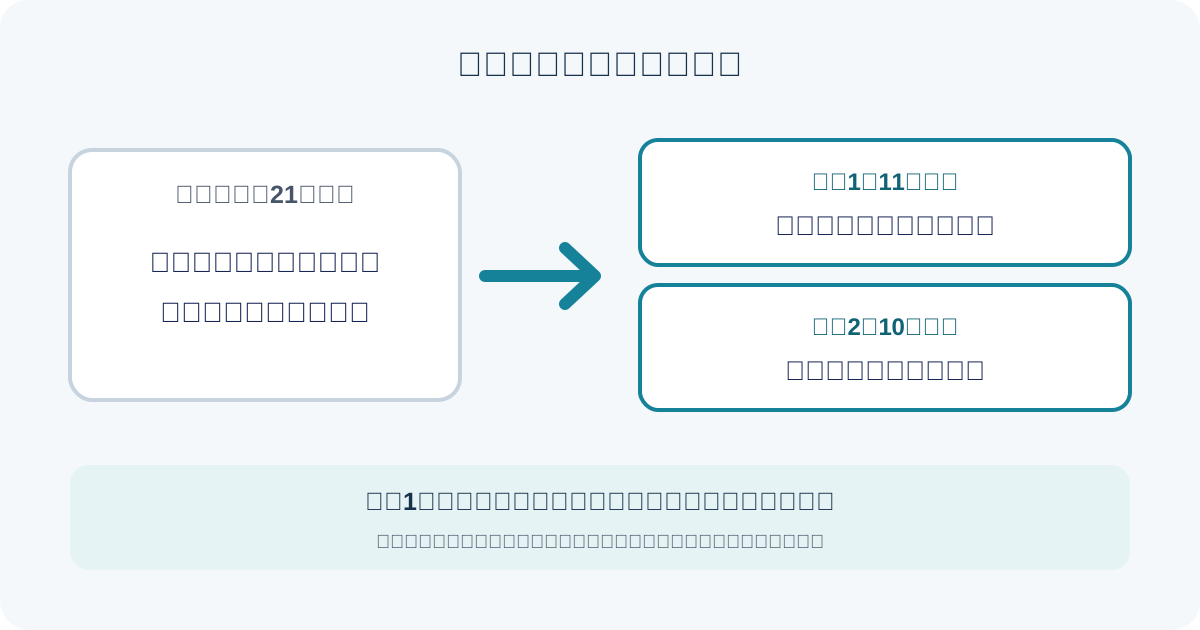
From October 1, 2026 onward, a thickness of 3 cm is not an independent dimension limit, but a guideline for thickness that can be dropped into a post box. The conditions require that the sum of 3 dimensions is within 60 cm, the longest side is within 34 cm, and the package can be posted; counter dispatch is limited to cases meeting official exception criteria where the thickness is 3 cm or less.
In Japan Post's current service guide, conditions require that the longest side is within 34 cm and the sum of 3 dimensions is within 60 cm, and that the package can be dropped into a post box, with 3 cm cited as the guideline thickness that can be posted. Items can be dispatched from a counter only when post boxes cannot be used due to being full, malfunctioning, etc., when the quantity exceeds the amount that can be posted at once, or when the post slot width is insufficient; packages accepted at the counter must be 3 cm or less in thickness.
The previous limit of 34 x 25 x 3 cm totals 62 cm across 3 dimensions. After the revision, verify that the sum of 3 dimensions is within 60 cm as well. The figures before and after the change can be confirmed in Japan Post's revision announcement (PDF).
Q. The package exceeds 2 kg in weight
The weight limit for Click Post is 2 kg. Before the October 1, 2026 revision, it was 1 kg. Weigh the package after packing, and consider an alternative shipping method if it exceeds the limit.
The current weight limit is stated in Japan Post's service guide, and the increase from the previous limit of 1 kg to 2 kg is documented in the revision announcement (PDF). Please weigh the entire package to be dispatched, including envelopes and cushioning materials.
Tracking Number and Shipping Notification Issues
Q. When is the tracking number issued?
The specific point in time when the tracking number is issued could not be confirmed in publicly available Click Post guides. Note down the inquiry number printed on the label and use it for tracking.
In Japan Post's usage flow, instructions are provided in the order of postage payment procedures, label printing, and posting in a mailbox. If you need a tracking number, use the number from the printed label. Even when sending 2 packages to the same destination, 2 separate applications are required because different inquiry numbers are needed (Japan Post's FAQ).
Q. Adding tracking numbers to Shopify is tedious
When manually syncing them to Shopify, you register the tracking number and shipping carrier to the target order's fulfillment. Because the workload increases with the number of orders, cross-check the entry field with the target order before saving.
To prevent mistyped numbers or mixing up orders, verify the label's inquiry number alongside the Shopify order before registering. You can check how to add tracking information in Shopify in Shopify's order tracking guide, and methods to reduce manual entry in Steps to Sync Tracking Numbers to Shopify.
Q. Tracking information is stuck on "Accepted"
According to Japan Post, tracking history is updated when an item arrives at the delivering post office or similar milestones, and transit takes a certain amount of time. If the number cannot be found on the day of dispatch, wait some time; if it still cannot be found on or after the following day, have your label copy or number ready and contact the nearest post office to the sender.
Because the timing of updates from "Accepted" involves transit time, it is not guaranteed to change by the next day. For inquiry contacts and timing when a number cannot be found, check Japan Post's FAQ for when a tracking number cannot be found, and for updates after acceptance, refer to the FAQ for when delivery history remains "Accepted".
Q. When does the shipping confirmation email arrive?
When manually executing fulfillment in Shopify Admin, turning off "Send shipment details to your customer now" stops the shipping confirmation email. You can also turn off notification emails when updating tracking information for fulfilled orders in Admin.
This explanation applies to manual operations in Shopify Admin. Because notification settings vary depending on the operation method, check the app's notification specifications if you mark items as fulfilled from an app. The configuration location in Admin can be confirmed in Shopify's customer notifications setup.
Payment and Label Printing Issues
Q. What payment methods are available for Click Post?
According to Japan Post guides, payment methods are Yahoo! Wallet or Amazon Pay, both of which are limited to credit card payments.
Terms of use can be checked in Japan Post's Click Post FAQ and the current service guide.
Q. Can payments be processed in bulk?
Multiple destinations can be registered together via CSV, but the official manual that could be confirmed is the Amazon Pay version. While operations for each payment target are guided, whether a Yahoo! Wallet version exists or whether multiple shipments can be processed in a single payment could not be confirmed.
In the official manual for Amazon Pay, you select the Amazon Pay button for each destination subject to payment and subsequently confirm payment procedures. Incomplete items remain in "Temporary Save" on My Page, and procedures can be resumed later. Please distinguish between registering destinations together via CSV and being able to consolidate payment processing.
Q. How many shipping labels can be printed at once?
The official manual for Amazon Pay guides how to print multiple labels from "Bulk Print" on My Page, but does not state the number of labels that can be printed at once or the number of labels per A4 sheet.
Confirm the target labels on the print screen and check your printer settings and remaining paper before printing. When sending multiple packages to the same destination, rather than duplicating labels, apply for 2 separate shipments, each with a different inquiry number (Japan Post's FAQ).
Q. Is there an expiration date for labels?
According to Japan Post's FAQ, labels are valid for 7 days starting from the day after the payment procedure is completed via Yahoo! Wallet or Amazon Pay. As an example, a label whose procedure was completed on January 1 is valid until January 8.
The validity period and date example are stated in Japan Post's Click Post FAQ. Because the handling after expiration is not described in the FAQ, check whether your planned shipping date falls within the validity period before completing payment procedures.
Post-Dispatch Issues
Q. A customer requested an address change after dispatch
Whether an address can be changed after dispatching a Click Post shipment could not be confirmed from publicly available Click Post guides. Prepare your inquiry number, contact the nearest post office to the sender promptly, and check whether recall or similar actions are possible for that package, as well as any associated costs.
Because whether Click Post items can be recalled and what fees apply cannot be determined from public materials alone, do not simply apply standard mail rates. Keep your tracking status and label copy on hand, and check with the post office regarding the specific package.
Q. A customer contacted me saying their package hasn't arrived
First, track the package using the inquiry number; if it shows "Delivery Completed," check the mailbox. Japan Post advises that packages that cannot fit into the mailbox will be brought back to the delivery post office after leaving a non-delivery notice.
If the number is not found on the day of dispatch, wait and check again later; if it is still not displayed on or after the following day, prepare your label copy or number and contact the nearest post office to the sender. Tracking updates may also require transit time (Japan Post's FAQ, FAQ regarding updates after acceptance).
Q. What should I do if a package is returned?
The example where returns are explicitly stated in Japan Post's FAQ is when the destination is a convenience store or HAKOPOST. Confirm the reason for return from tracking information or the return label, and consult the sending post office for other reasons or reshipping costs.
Check the condition of the returned package and its destination, and if reshipping, verify the correct address along with the latest postage and application conditions on Japan Post's guidance. Do not make blanket assumptions about return reasons or reshipping costs; verify them on a package-by-package basis (Japan Post's Click Post FAQ).
Summary
For CSVs, check the official template, Shift-JIS encoding, and the 40-entry per upload limit; for addresses, verify the 4 fields and the character count for each. For size, tracking, notifications, and post-dispatch handling, distinguish between standard rules and exceptions, and verify any details not found in public materials individually with post office or Shopify guides.
If you want to streamline your overall Click Post shipping process, Instant Shipping! for Click Post is another option. This app is developed and provided by JizaiDev, the operator of this site.